Who knew that a coffee table could cause such drama in this house?
Trust there was almost a murder here last week.
But let's start from the beginning.
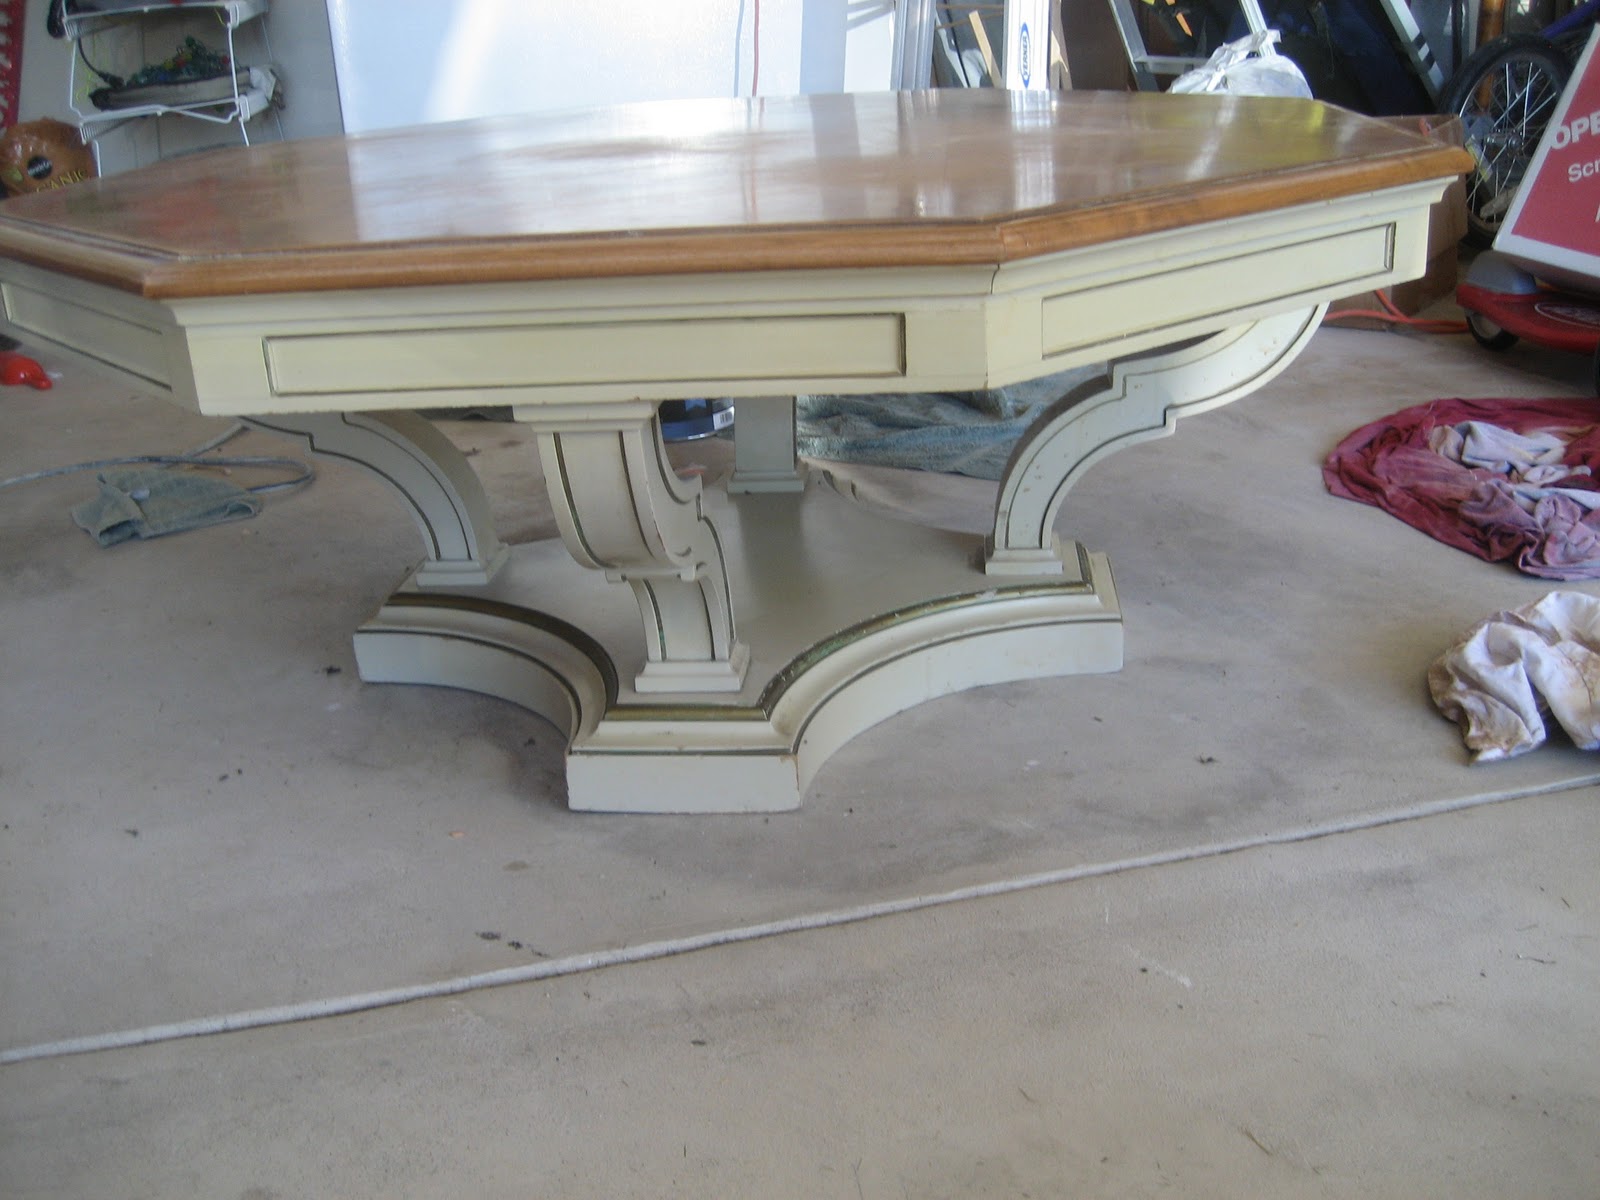
There was a table on craigslist that I just had to have.
It had great bones, but the beige and gold had to go.
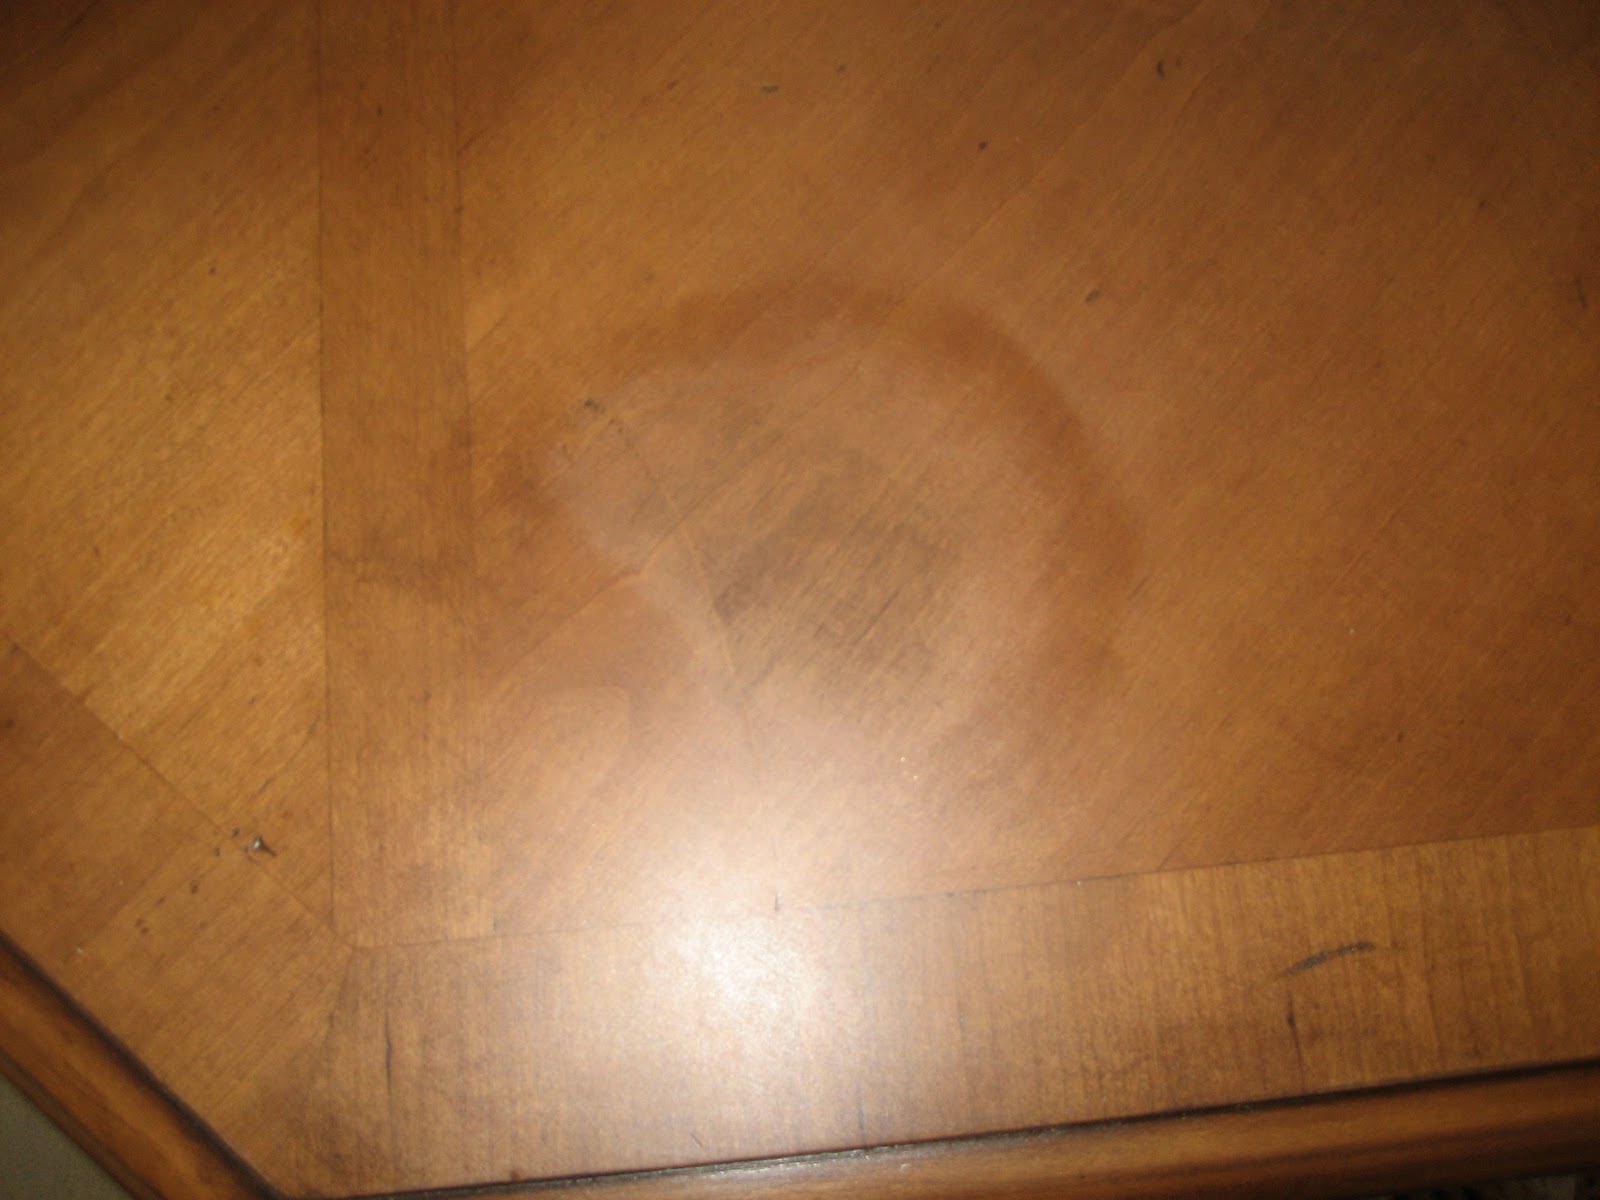
Not to mention how bad the top was.
Lesson #1 learned from this table drama
In doing this table I learned that when you have white water stains, they can be removed by a white tshirt laid on top and then a hot iron.
Out like a charm!
I tried to take pictures but they just wouldn't show the results. But trust me it works! It didn't even take of the finish!
Lesson #2
Do NOT use a circular sander to sand a wood top.
Sand WITH the grain!
As a result you will have millions of little scratches all over the top. It will look like little mice just ice skated all over the top of your table.
Lesson #3
Learn to bring in reinforcements.
At this point I emailed my new friend Christa at
Stories of a House. This girl knows her stuff! And
Christa was so sweet and kind to walk me through all the steps to get this table to its true beauty.
Lesson #4
Do NOT try to avoid stripping the table when you know it is inevitable.
There was a scratch on this table that I tried my darndest to get out. Unfortunately that meant that I over sanded a part of the wood.
The ONLY cure for this was to strip the table.
If I just stripped it from the beginning, I would have saved myself a weekend of work.
Once it was stripped and started to stain, it looked beautiful!
Once it was all stained, I put on the Poly. Christa mentioned once the poly has cured for 7 days to do a techique called wet sanding. Which is starting with 400 grit sandpaper wetting it with soapy water and then sanding it down. Then move up to 600 grit paper, then repeat with 800 grit. You can go all the way up to 2000 grit, but I was good with going to 800 grit.
After all the sanding you are to rub on some rubbing compound.
I did this and I couldn't get the top to not look cloudy.
Then last week I got
sick.
Which brings me to...
Lesson #5 When divorce isn't an option...Murder could be.
I could barely breathe and felt like crud so I went to bed early.
Mr. Genius thought it to be a nice gesture by seeing what he could do to the table to help it get finished.
I told him to lightly sand with the 800 grit sand paper and make sure to wet it so it wouldn't scratch up the top too much.
After some time I went downstairs to take some medicine and went out to the garage to check on his progress.
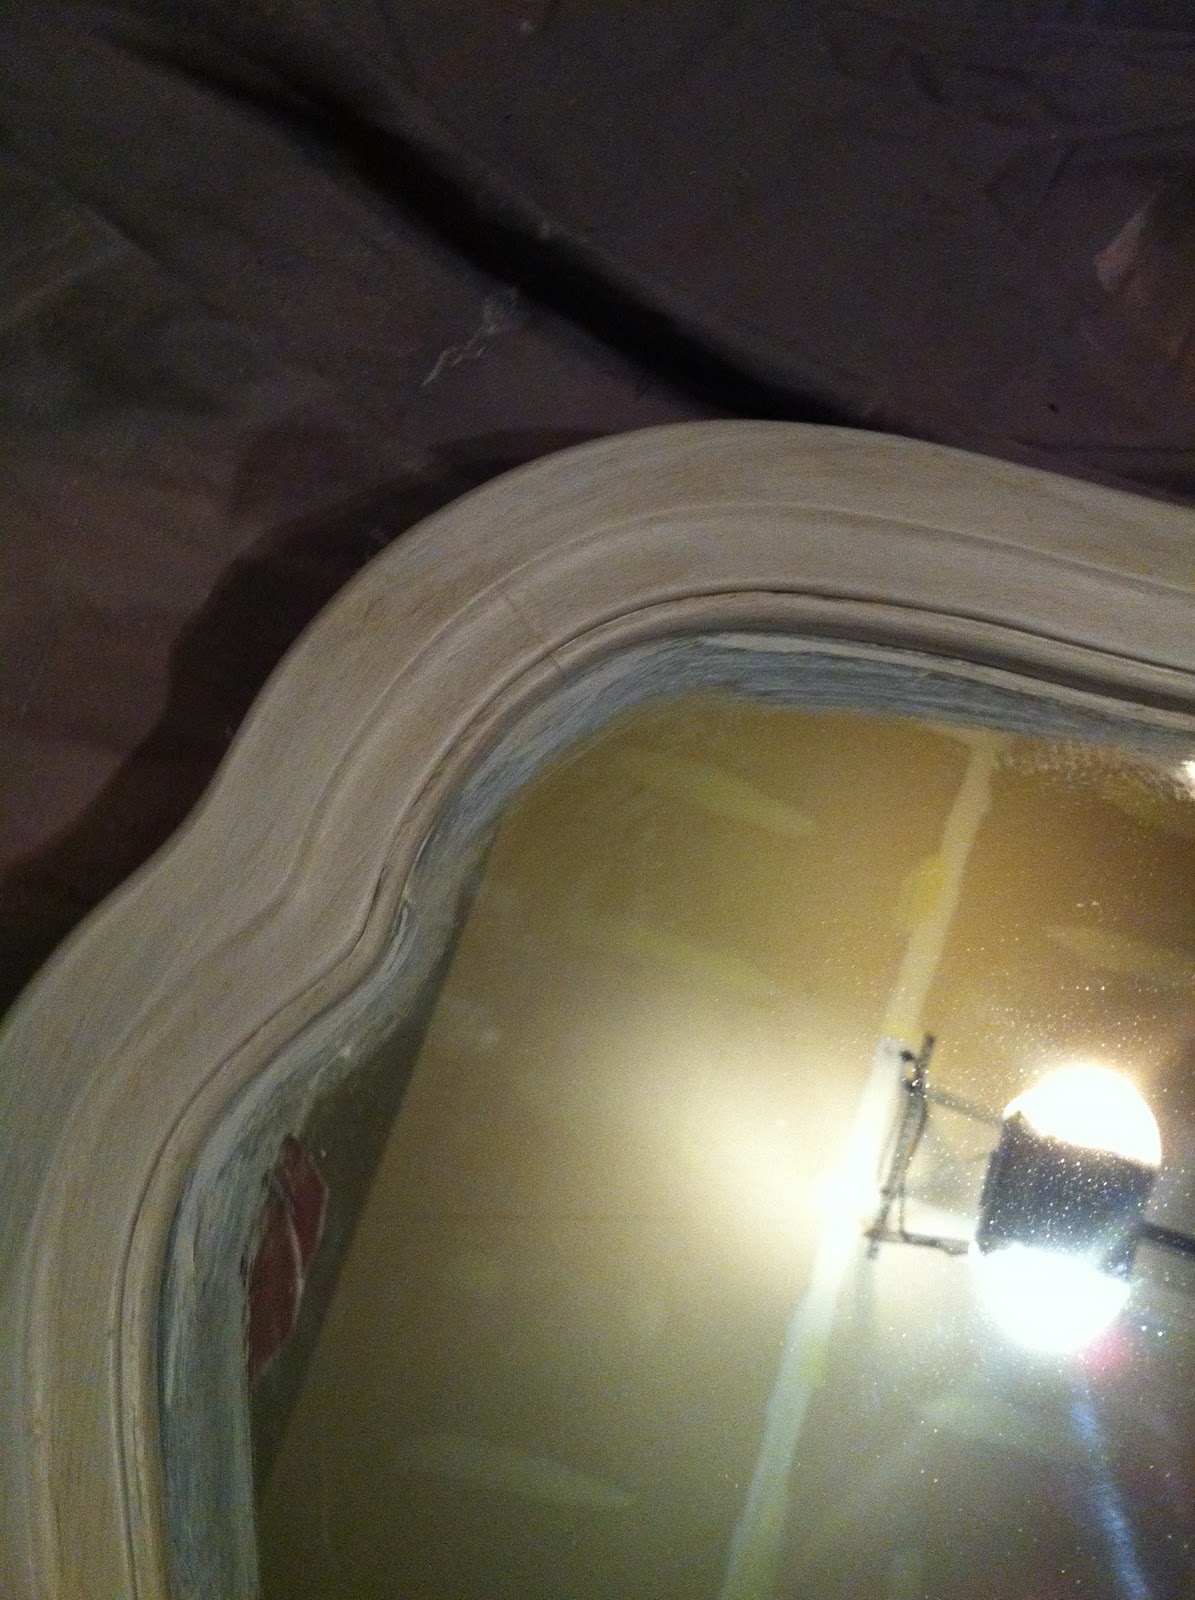
The first thing out of Mr. Genius' mouth was "This 80 grit sand paper is really scratching up the top."
Me "Wait, you mean 800 grit...right."
Mr. Genius, "We don't have 800 grit, I used 80 grit."
Yep he really used 80 grit instead of 800.
The picture is blurry, due to my angry shaky hands.
Now for my final lesson.
Lesson #6 God's gifts come in mysterious packages.
Mr. Genius' gift that night was the fact that I couldn't breathe.
You see there is this one thing that you need to do in order to talk...breathe.
When you can't breathe you can't talk.
I am sure you see where I am going with this.
There were many words...that were not Godly, encouraging, or uplifting by any means that were going through my head to say to my husband right then, but I couldn't say a one of them.
Now body language says a lot my friends.
All I did was pick up the 800 grit sand paper...
that was right on top of the other sand paper... and proceeded to throw it at him.
See...a gift. My not breathing was a gift.
After this fiasco, we had to restrip the table, then restain it, then repoly it. I say we, but Mr. Genius really did it all. Looking up the table brought up too much anger in me.
Which may be why I painted the
next table red.
So with all of that. Here is the table that brought so much drama to our house.
The top now looks great!
Here is the before again.
And now the after.
I am so glad that this project is over with.
Now to just sell it so I don't have to look at it anymore.