



Thursday, August 26, 2010

A kid friendly pottery barn knock off craft

Have you seen the chalkboard rocks that Pottery Barn is selling now?


Did you see that there are 4 rocks for $16?!!!

It's ludicrus people!

So I decided to make my own chalkboard rocks...for Free and get my boys to help with it!!

The boys got to help and quite frankly they LOVED it.

I took the boys to a creek to go on a mission to find smooth rocks.


And to conquer the world one limb at a time.


Look at that nice little muddy bottom.


They took it very seriously over finding the smoothest rocks.


It wasn't until towards the end that I got smart and got them to take off their shirts.

When we got home, we then cleaned to rocks with some old toothbrushes.


Another part that they Loved to do.


Then after lunch when they were dry we primed them.


Poor guy. Next time I will need to get one of those sprayer attachments. Then again...that could be dangerous.


Romeo just pointed out where Wild Man missed a spot.


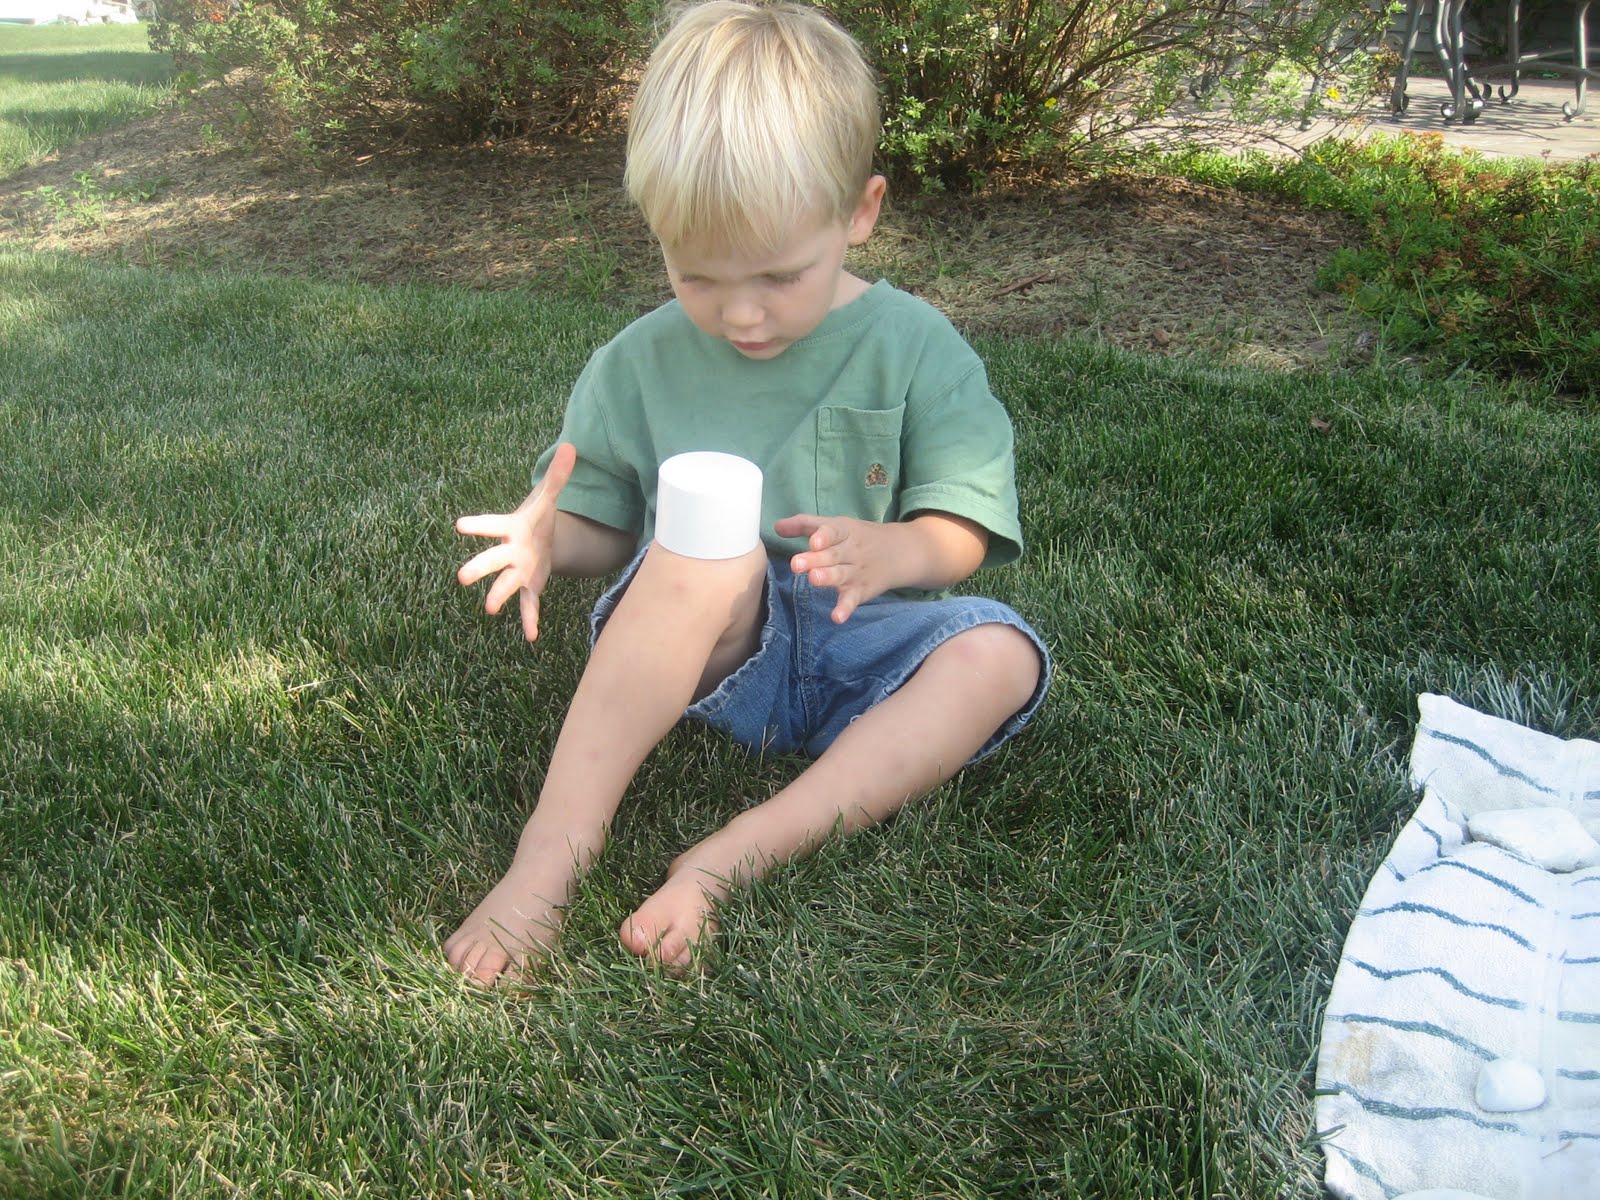
Then he balanced the top on his knee.

I sprayed the chalkboard paint, which took a while.

I kept flipping and flipping and it seemed like I always missed a spot.

So today the boys finally got to color on their rocks today.


We had a lots of fun making all sorts of things.


Luckily I already had the spray paint on hand, but if I didn't I know that it would cost less then $10 for about 20 rocks.

Now you try it.


This post was sponsored by:



Monday, August 23, 2010

Grocery Shrink Giveaway

To find out about this giveaway go to my giveaway page.

HERE

Sunday, August 22, 2010

Halcyon Green tables


A few weekends ago, Sherwin Williams had a big sale.

And being the person who doesn't turn down a big sale... I had to go.

Because the 15 other cans of paint and 20 cans of spray paint were not tickling my fancy at the moment. 

I skipped into my local Sherwin Williams and then I thought..."Uhh, what color am I going to get?"

Other people will have that figured out before they walk in a store.

But not me.

I blame it on the kids.

But they weren't there so.... I will blame my stupidity on the heat.

Then it hit me, I remembered my mom's buffet she painted it with Halycon Green.

Y'all, it is my new love.

This is a GREAT color!

But I want to know something. How did the Nester know that even though it is called Green and the swatch looks green, it is really blue?!

How do you learn such trickery?

When I brought the color home I knew what I was going to use it on.

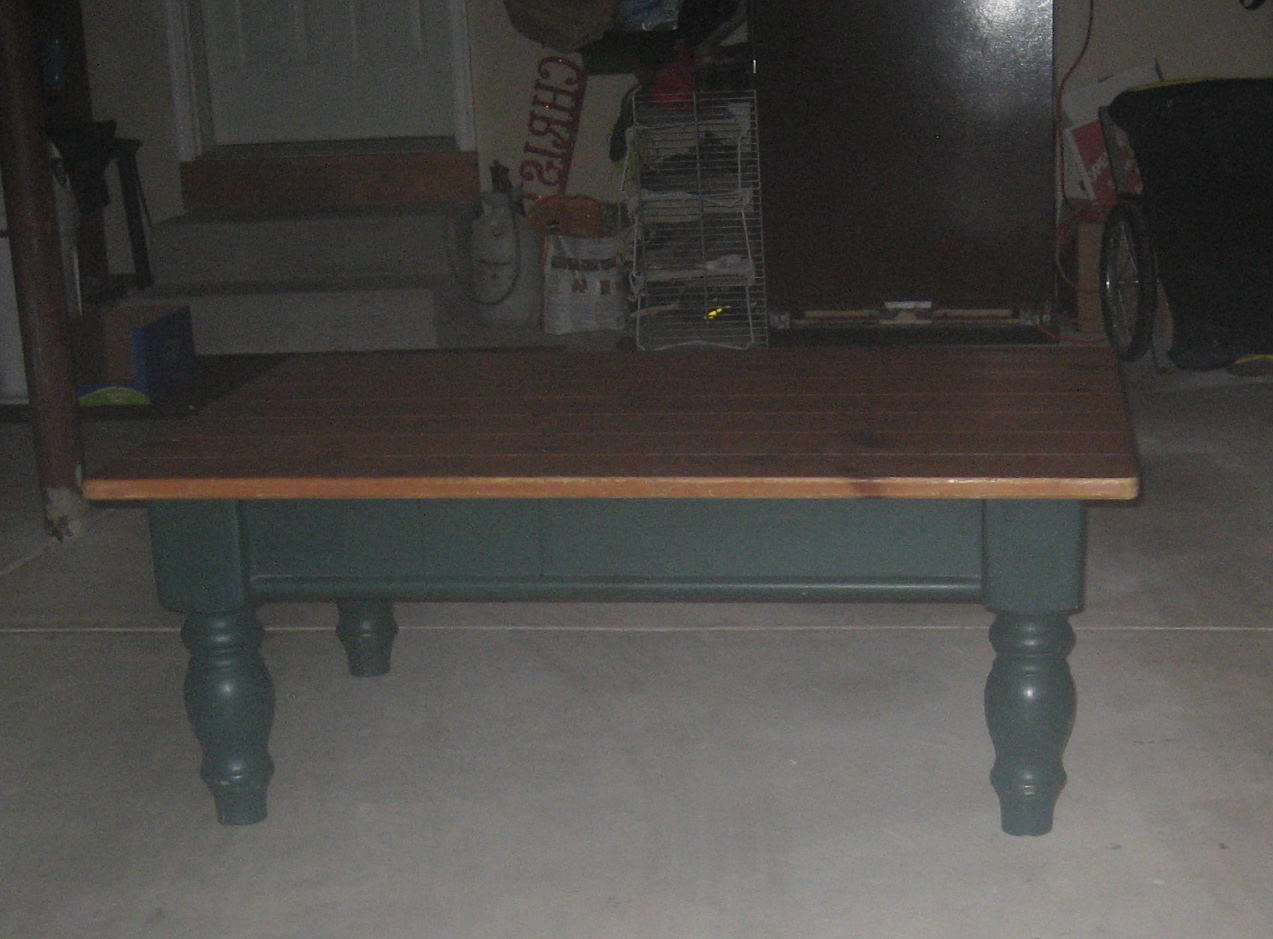
I got this coffee table off of Freecycle.


Sometimes I am just in awe with what people give away for free.

I painted the bottom Halycon Green and the top white.


This will be another Craigslist flip.

Fingers crossed that it will sell.

I did just sold the black metal spray painted chandeliers today!! Who Hooo!

Then I got a wild hair and thought I would try something crazy.

Silver spray paint on this little table.


I saw some silver tables all over blog land and I have been drooling over them.


So I thought I would give it a try.


I gave it a big fat FAIL!!!

Sigh, but atleast it is just paint. And it can be painted over!

I took that Halycon Green and painted it.


Ah, much better!


But there is another problem.


Now I need to learn how to slipcover that chair.

One project always leads to another...doesn't it.

I will be posting to these parties.


This post was sponsored by:


Friday, August 20, 2010

How to build a picture frame

In case you all missed my tutorial on Ucreate.

Here is how to build your own picture frame!!!

Today I want to show you all how easy it is to make your own picture frame!


No really I am serious! It is easy.

A while back ago my mom and I made a frame for her bathroom mirror and it gave me the confidence to make by own frame.

I used a miter saw and a nail gun for the first time when I made this project.

So lets get started!!

First you need some pieces of wood.


Although that is self explanatory.

I used some 1x4s left over from when my hubby made me a Ballard knock off drying rack!!

Gotta love a man who understands my love for Ballard's.

I also used this trim I found at home depot that that had a lip!

Just like what you would need to the picture to fit in the frame.


It was also under $3 for 5 ft of the trim!

Next measure how long you want the frame to be.


Then cut that baby down to size.


One cut down, 7 more to go.


After you make the next cut put those jewels together and make sure they fit.


Dance a little jig when they fit.

Then get the 1x4s out and measure them.


Now remember the cuts DO NOT need to be perfect.


That is why there is wood putty. It's like Cover Girl for your cutting mistakes.

Stack the small trim on top of the cut 1x4s and hope they fit.


Dance another jig.

Now get some wood glue and glue the small trim square.


Then the fun part!

Get that nail gun out and nail the small trim to the 1x4.


Time for that forgiving wood putty.


If it wasn't for wood putty all wood projects would look like it was done by a 3 year old.

And then paint this baby what ever color your little heart desires.

I chose white cuz I am boring like that.


Then I used some translucent glaze and wiped it off as soon as I wiped it on.


In order to stick the picture in the frame I just used tape.

What can I say, I am not a perfectionist.

Then I hung it up!


I hung my frame within another larger frame to fill up some wall space.

But I am happy with the results.


So there you are peeps. Now you know how to make your own picture frame!

I am linking to sawdust and paperscraps build{hers} blog party.


Build{hers} club Button

Monday, August 16, 2010

I wanted to share some FUN news with you about a party event taking place next month.


It is a Gorilla Glue Party event and it will take place Sept 9th through Sept 30th over at the www.DIYClubinc.com

This is an additional event, a Special Event, (their regular monthly party will still take place).  If you have not visited the DIY Club, you should check it out. They have awesome give-a-ways for their monthly competition (this month was a $500 gift package).


The theme of their GORILLA GLUE party is:

Something OLD
Something NEW
Grab the CREW (Yah, get the family involved)
And the GORILLA GLUE


Head over to the 6 DIY Club gals blogs, you can enter to win a Gorilla Glue gift box, full of products Plus they will give you all the details of this fun party event.


www.tatertotsandjello.blogspot.com
www.bystephanielynn.com
www.itssoverycheri.com
www.thediyshowoff.blogspot.com
www.504Main.com
www.whisperwoodcottage.blogspot.com

Sunday, August 15, 2010

A Heavenly Party

About a month after dad passed Wild Man would constantly ask me when Pop's (my dad) birthday was.

Dad and Wild Man (right after Wild Man's first birthday party)

I would ask why?


Wild Man would say, " Cuz God will let Pop come down from heaven to play with me that day."


Dad and Romeo

I would try to explain to Wild Man that Pop couldn't come back down from Heaven. But he would not take no for an answer. He was truly convinced that Pop would come back down on his Birthday.


But then again when you are 4 years old the MOST important day is your Birthday.


I was really concerned that Wild Man would be mad at God on Pop's birthday when he didn't see him. A friend told me to tell Wild Man that Pop will be having the biggest birthday party in heaven that day. Angels will even be there.


Once I told Wild Man that and he hasn't asked about it since.

Dad with Romeo (Romeo's 1st birthday party)

Well today is that day. 

Today my dad would have celebrated his 54th birthday here on earth, but instead he is celebrating his first birthday with the One who created him. 

Dad with Wild Man at his 4th birthday Party just 4 days before he died.

To be on the safe side I have not mentioned what this day is to Wild Man.


tuesdays unwrapped at cats